Disaster Preparedness the CERT Way
CERT Unit 1 opens with a claim that sounds dramatic until you check it: in the initial period after a disaster, you and your neighbors may be on your own for three days or longer. The unit then spends its pages on the two things that shrink that window’s danger: a home prepared to ride it out, and a family that knows its plan. This post distills Unit 1’s playbook for your home and workplace.
Disclaimer: The information provided in this article is for general informational and educational purposes only. It is not intended as, and should not be considered, professional advice. Follow local building codes and the instructions of local authorities.
The Readiness Audit
Could your household sustain itself for 72 hours with zero outside help?
- Green: You have a 3-day water supply at a gallon per person per day, a practiced family plan, and utility shutoff tools staged.
- Yellow: You have scattered supplies and an unpracticed plan.
- Red: You would start improvising from zero.
If you are Yellow or Red, execute Phase 1 immediately.
Phase 1: Know Your Hazards, Then Prepare for Them
Goal: Anchor preparation to your actual risks.
Unit 1 directs every household to learn the likely hazards in their community and their community’s plans and protocols, then prepare specifically for them. The unit’s structure covers preparing for everything from earthquakes to hurricanes to hazardous materials incidents, and the preparedness moves differ: hurricane storm shutters protect windows in wind zones, while sheltering-in-place protects against airborne contaminants without altering the structure. The unit draws a hard line between two terms people conflate: a safe room requires significant fortification to protect against extremely high winds (FEMA documents these at fema.gov/safe-rooms), and it is not the same as a shelter-in-place location.
The Takeaway: Preparation is hazard-specific. A tornado plan inside a flood zone is a misallocated weekend, so learn your community’s hazard list first.
Phase 2: The Disaster Supply Kit
Goal: Stock the unit’s baseline.
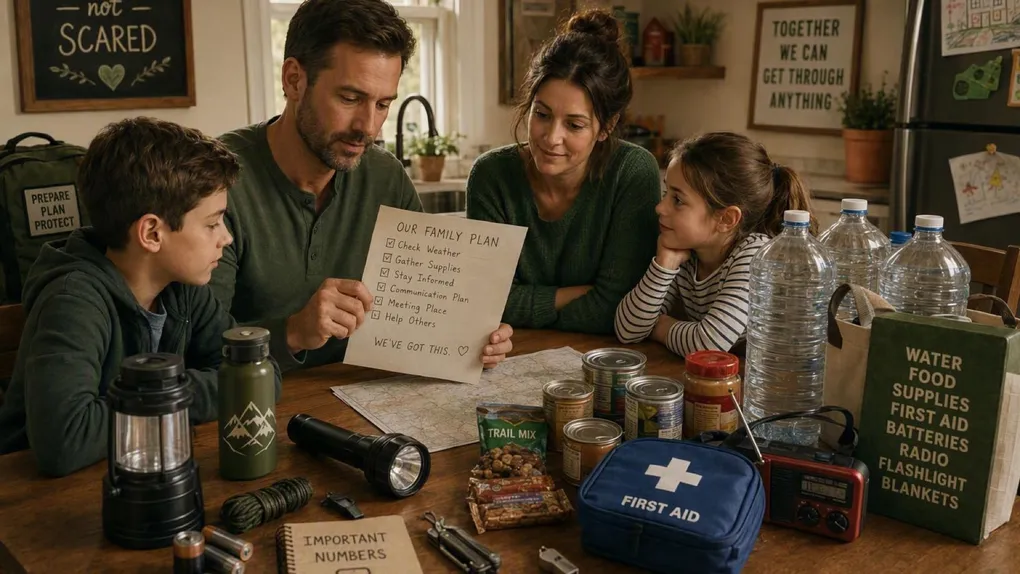
Unit 1’s kit guidance centers on water: store at least 1 gallon of water per person per day (3 quarts for drinking, 1 quart for food preparation and sanitation), and keep at least a 3-day supply for each household member. Children, nursing mothers, and ill people need more. If water quality is in doubt, purify it: heat to a rolling boil for 1 minute or use commercial purification tablets. The kit continues with tools including pliers and a wrench to turn off household gas and water, a small ABC-type fire extinguisher, a whistle, a signal flare, needles and thread, a medicine dropper, a compass, and a landline telephone (which works without cell networks). Personal sanitation items round it out: toilet paper and towelettes, feminine supplies, household chlorine bleach and disinfectant, plastic garbage bags and ties, soap, and personal hygiene items.
The Takeaway: The kit is organized around the three-day autonomy window: water math first, tools to stop your own gas and water second, sanitation third, because sanitation failures sicken more people than the initial event.
Phase 3: The Family Plan
Goal: Decide the moves before the noise starts.
Unit 1 folds household preparedness into a plan every member knows: evacuation versus sheltering-in-place decisions for your specific hazards, a family communication approach for when normal channels fail, a designated out-of-area contact, and a practiced home drill. The unit’s framing is blunt: what you do today has a critical impact on the quality of your survival and your ability to help others safely and effectively.
The Takeaway: The kit sustains the body and the plan directs it. A household that has rehearsed where to meet, who grabs what, and how to shut the gas off moves in minutes while others are still reading instructions on their dead phones.
The Essential Kit Checklist
- The Water: At least 1 gallon per person per day, 3-day minimum (3 quarts drinking, 1 quart prep/sanitation).
- The Tools: Wrench and pliers for gas and water shutoff, staged where an adult can reach them in the dark.
- The Extinguisher: Small ABC-type canister in the kitchen area.
- The Signaling: Whistle for every family member plus a landline phone if your home has copper service.
- The Sanitation: Chlorine bleach, disinfectant, garbage bags, and towelettes for the hygiene collapse that follows every outage.
- The Safe Room Decision: Know whether your hazard calls for a fortified safe room or sheltering-in-place, because they are different rooms.
Scenario Planner (Contingencies)
“We have city water, we do not need a gallon a day.” The trap: water mains fail with the power, and contamination advisories follow. The fix: the 3-quarts-drinking, 1-quart-sanitation split exists because you will both drink and wash with stored water, and purification (1 minute rolling boil or tablets) covers quality doubts.
“Evacuation and shelter-in-place are the same decision made at different times.” The trap: they are different preparations. The fix: decide in advance which hazards in your area call for leaving, which call for sealing in place, and where the safe room or shelter location is for each.
Next Steps
- Re-run the Readiness Audit. Scroll back to the top, answer the three questions honestly, and close whichever gap they reveal before you close this tab.
- Print the checklist. The kit list above only works if it exists when the power is out, so paper beats apps here.
- Fold it into the family plan. A prepared household beats prepared person, so put these steps in front of everyone who shares your roof.
Next: Read CERT Organization and the Chain of Command for Unit 2’s structure that keeps volunteer chaos out of the response.
Adapted from FEMA - CERT Basic Training (public domain). Read the original: CERT Basic Training Participant Manual (2019).